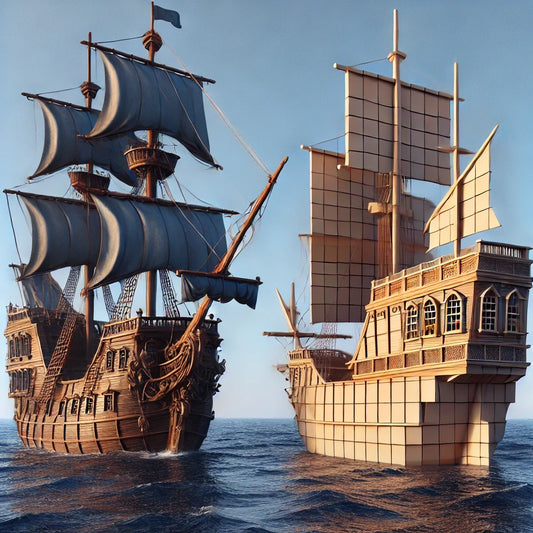
The Baywatch Problem and Scan-to-BIM: A Pirate's Guide to Navigating the Seas of Data
Share
Ahoy! Every day, more Scan-to-BIM companies are hailing me on LinkedIn, waving promises of capturing every inch of your project site. But before ye dive into the high seas of high-accuracy, high-cost scans, let’s weigh anchor and talk about when less is actually more.
In this age of digital treasure hunting, there are scanners that capture every detail down to a flea’s whisker (for a steep price) and simpler ones that might be “good enough” to get ye where ye need to go. Traditional tachymeters map out distances and angles point by point—a bit like using a measuring tape on deck. But the more modern tools are filled with rotating lasers and clever algorithms, creating point clouds that capture coordinates, even color values, of every point in sight.
Now, turning these point clouds into a 3D or BIM model isn’t some automated magic trick. It’s mostly manual work, lad—slow, expensive, and not for the faint of heart. And here’s the key: what you model should depend on what you actually plan to do with it. Are ye aiming for accuracy on-site, or just a rough layout for early design?
Many a client wants the highest level of detail, assuming that if they invest once, they’ll be set. But do ye really need to map every plank and nail? Sometimes too much detail is a curse—ever tried maneuvering a fully detailed model in the early design phase? Like a ship with too much cargo, it’ll weigh ye down.
Scan-to-BIM Scenarios
1. Gettin’ 2D Plans from the Scan
For most cases, a low-res scan will be enough. Combine this with an experienced drafter who sets the right measurements and overlays the scan with existing plans, and you’ve got a solid foundation.
2. A Foundation for Conceptual 3D Planning
Point clouds are often sufficient here. Let designers decide what to model, in which tool, and at what tolerance. For managing qualities, ye may need to localize some elements for visualizing key info. By modeling rooms/spaces as early containers, ye can sail quite far. Add a touch of abstractBIM, and ye’ll have walls and slabs that are good enough for early-stage planning.
3. Foundation for Facility Management
For FM, all ye need is a basic local representation of spaces and a few key elements. An abstractBIM workflow can help here too.
4. Precision Measurement for Detailed Design or Construction
When ye need parts to fit on-site precisely, ye can’t skimp on accuracy. This is where millimeter-tolerance scans are worth the gold.
5. Documenting Construction Work
Some companies document inaccessible installations with scans, like reinforcement and utilities in concrete slabs. If it’s a bet on future usefulness, better be precise!
6. Risk Management and Installation Checks
To see if a site is shipshape and any issues need planning adjustments, speed matters more than perfect detail.
Beware the Siren’s Call of Over-Detail
These days, clients often want the most detailed scans and models. “Get it all, and do it right the first time!” they cry. But too much detail can turn a treasure into dead weight. Once, I helped an architect wrangle a model so detailed it even had floor gradients. Useful for a final layout? Maybe. But in early design? ‘Twas a nightmare.
The Pirate’s Code: Me Rules of Thumb
- Go for the lowest possible scan detail: Why weigh down the ship?
- Adjust accuracy by zone: Keep the parking decks light; save high-detail scans for spots like staircases.
- Put the onus of modeling on the one using it most: If the architect’s using the model, let ‘em steer the ship.
- Don’t scan for the archive: The seas change fast, and what ye capture today might be outdated by the time ye use it. In five years, new walls could’ve sprung up like barnacles, and high-detail scans may be useless without a way to keep them current.
So there ye have it—how to navigate the Scan-to-BIM seas with a true pirate’s savvy. Remember, when it comes to data, sometimes less be more. Aye, it’s about speed, purpose, and knowin’ when to keep the anchor light!


